

Download this tutorial in a PDF file.
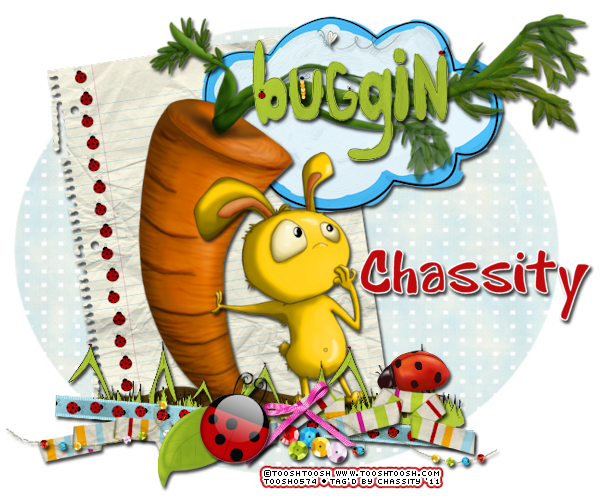
I've used the lovely PTU artwork of Toosh Toosh. Get it at his site.
This is PTU kit called Don’t Bug Me from TammyKat Dezigns. Get it at PMTw/S.
The mask is Vix_Mask17, by Vix PSP.
Font used is Cartoon.
Let’s Begin!
Open a new canvas that’s 800x800 pixels.
Copy and Paste your tube as a new layer.
Resize the tube as needed to be as you like it.
For this tube I arranged the pieces together on separate layers.
Open grass72 from kit.
Copy and Paste it as a new layer.
Resize it to fit along the left as shown.
Duplicate as needed to cover the bottom of the tag as shown.
Open notebook-ladybug72 from kit.
Copy and Paste it behind the tube layer.
Resize and arrange it to the left as shown.
Open ncloud72 from kit.
Copy and Paste it as a new layer.
Resize and arrange it to the right as shown.
Open ladybug-ribbon72 from kit.
Copy and Paste it above the grass layers.
Resize and arrange it to the bottom as shown.
Open stripedfolderibbon72 from kit.
Copy and Paste it as a new layer.
Resize and arrange it to the bottom as shown.
Open sequinstitches72 from kit.
Copy and Paste it as a new layer.
Resize and arrange it to the bottom as shown.
Open 5 different sequin from kit.
Copy and Paste them as new layers.
Resize and arrange them in a cluster at the bottom as shown.
Open greenleaf72 from kit.
Copy and Paste it as a new layer.
Resize and arrange it to the bottom left as shown.
Open pinkbow72 from kit.
Copy and Paste it as a new layer.
Resize and arrange it to the bottom as shown.
Open redladybug72 from kit.
Copy and Paste it as a new layer.
Resize and arrange it to the bottom left as shown.
Open bugginworld72 from kit.
Copy and Paste it as a new layer.
Resize and arrange it to the top as shown.
Open paper cloudpaper72 from kit.
Copy and Paste it at the bottom of the tag.
Add your mask by going to Layer>Load/ Save Mask>Load Mask from Disk.
Apply the mask named Vix_Mask17.
Merge the mask group by right clicking the layer of the finished mask, go to Merge>Merge Group.
Resize and arrange it to fit as shown.
I used the font Cartoon. Set it to a size you like and a stroke width of 3.
Foreground color to white and background color to #be0a0c.
Duplicate the layer and select the second font layer with the font tool.
Set the stroke width to 0.
Merge the 2 font layer and convert to a raster layer.
Drop shadow everything except the mask.
Effects>3D Effects>Drop Shadow, set the drop to 3 vertical, 2 horizontal, 75 opacity, 4 blur.
Add your copyright info and your tag.
Merge everything in Layers>Merge>Merge Visible
Crop and resize as needed!
All Finished!
No comments:
Post a Comment